

How to Take Professional Photos with Your iPhone – 2025 Edition
In 2025, your iPhone is more than just a smartphone — it's a powerful photography tool that can rival DSLR cameras. With the iPhone 15 Pro Max and iOS 18 camera software, professional-grade photos are easier than ever to capture. Whether you're a content creator, aspiring photographer, or just love snapping memories, this guide will teach you how to shoot like a pro using your iPhone.


Step 1: Use the Right Settings
Switch to RAW mode if available for high-quality edits. Use ProRAW on supported models and adjust white balance and ISO manually in third-party apps like Halide or Lightroom.
Switch to RAW mode if available for high-quality edits. Use ProRAW on supported models and adjust white balance and ISO manually in third-party apps like Halide or Lightroom.
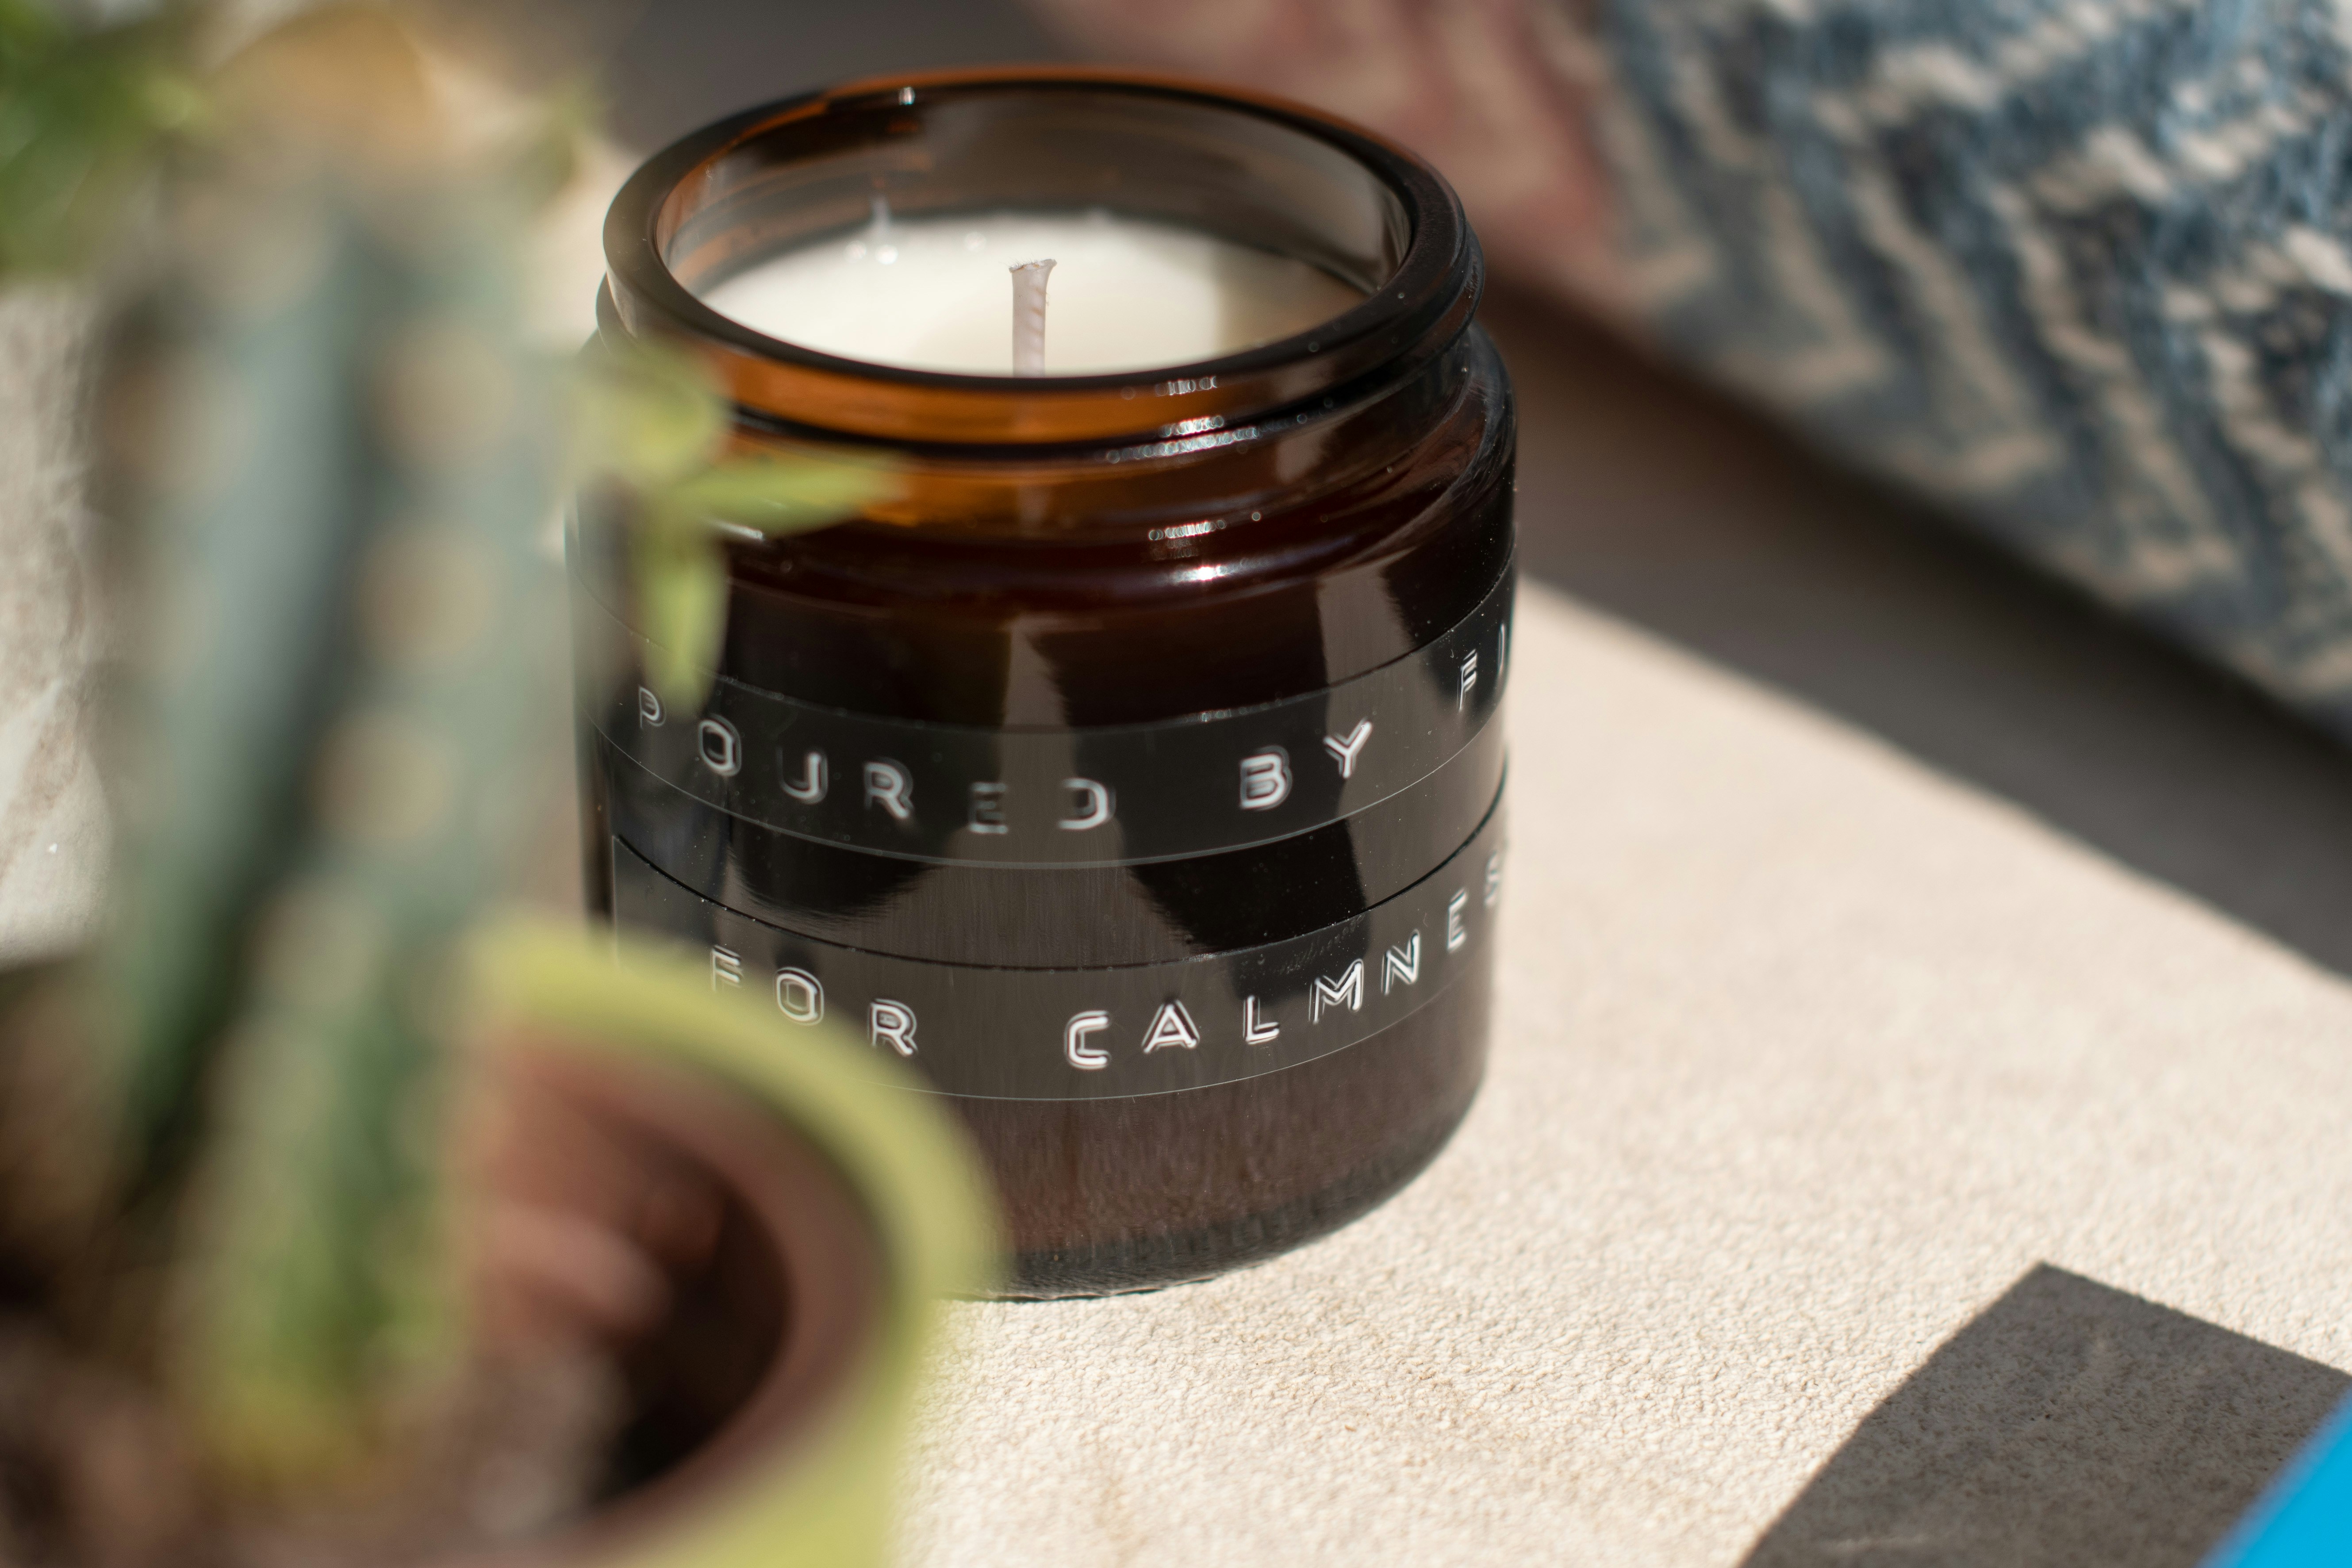
Step 2: Master Lighting
Natural lighting is key. Shoot during golden hour and avoid harsh midday light unless using HDR. Use reflectors or even white paper to bounce light.
Natural lighting is key. Shoot during golden hour and avoid harsh midday light unless using HDR. Use reflectors or even white paper to bounce light.
Step 3: Use Grid and Composition Rules
Enable the grid in camera settings and follow the Rule of Thirds. Try symmetry, leading lines, and framing to make your shots more engaging.
Enable the grid in camera settings and follow the Rule of Thirds. Try symmetry, leading lines, and framing to make your shots more engaging.
Step 4: Edit Like a Pro
Use apps like Snapseed, VSCO, or Lightroom Mobile to fine-tune contrast, clarity, and saturation. Avoid over-editing!
Use apps like Snapseed, VSCO, or Lightroom Mobile to fine-tune contrast, clarity, and saturation. Avoid over-editing!
Pro Tip: Tap to focus and hold to lock focus/exposure. It gives you better control, especially in bright or dark scenes.
Ready to Elevate Your Mobile Photography?
Try shooting a mini photo project using only your iPhone. Share it on Instagram with #iPhonePro2025 and tag us!
Submit Your Photos